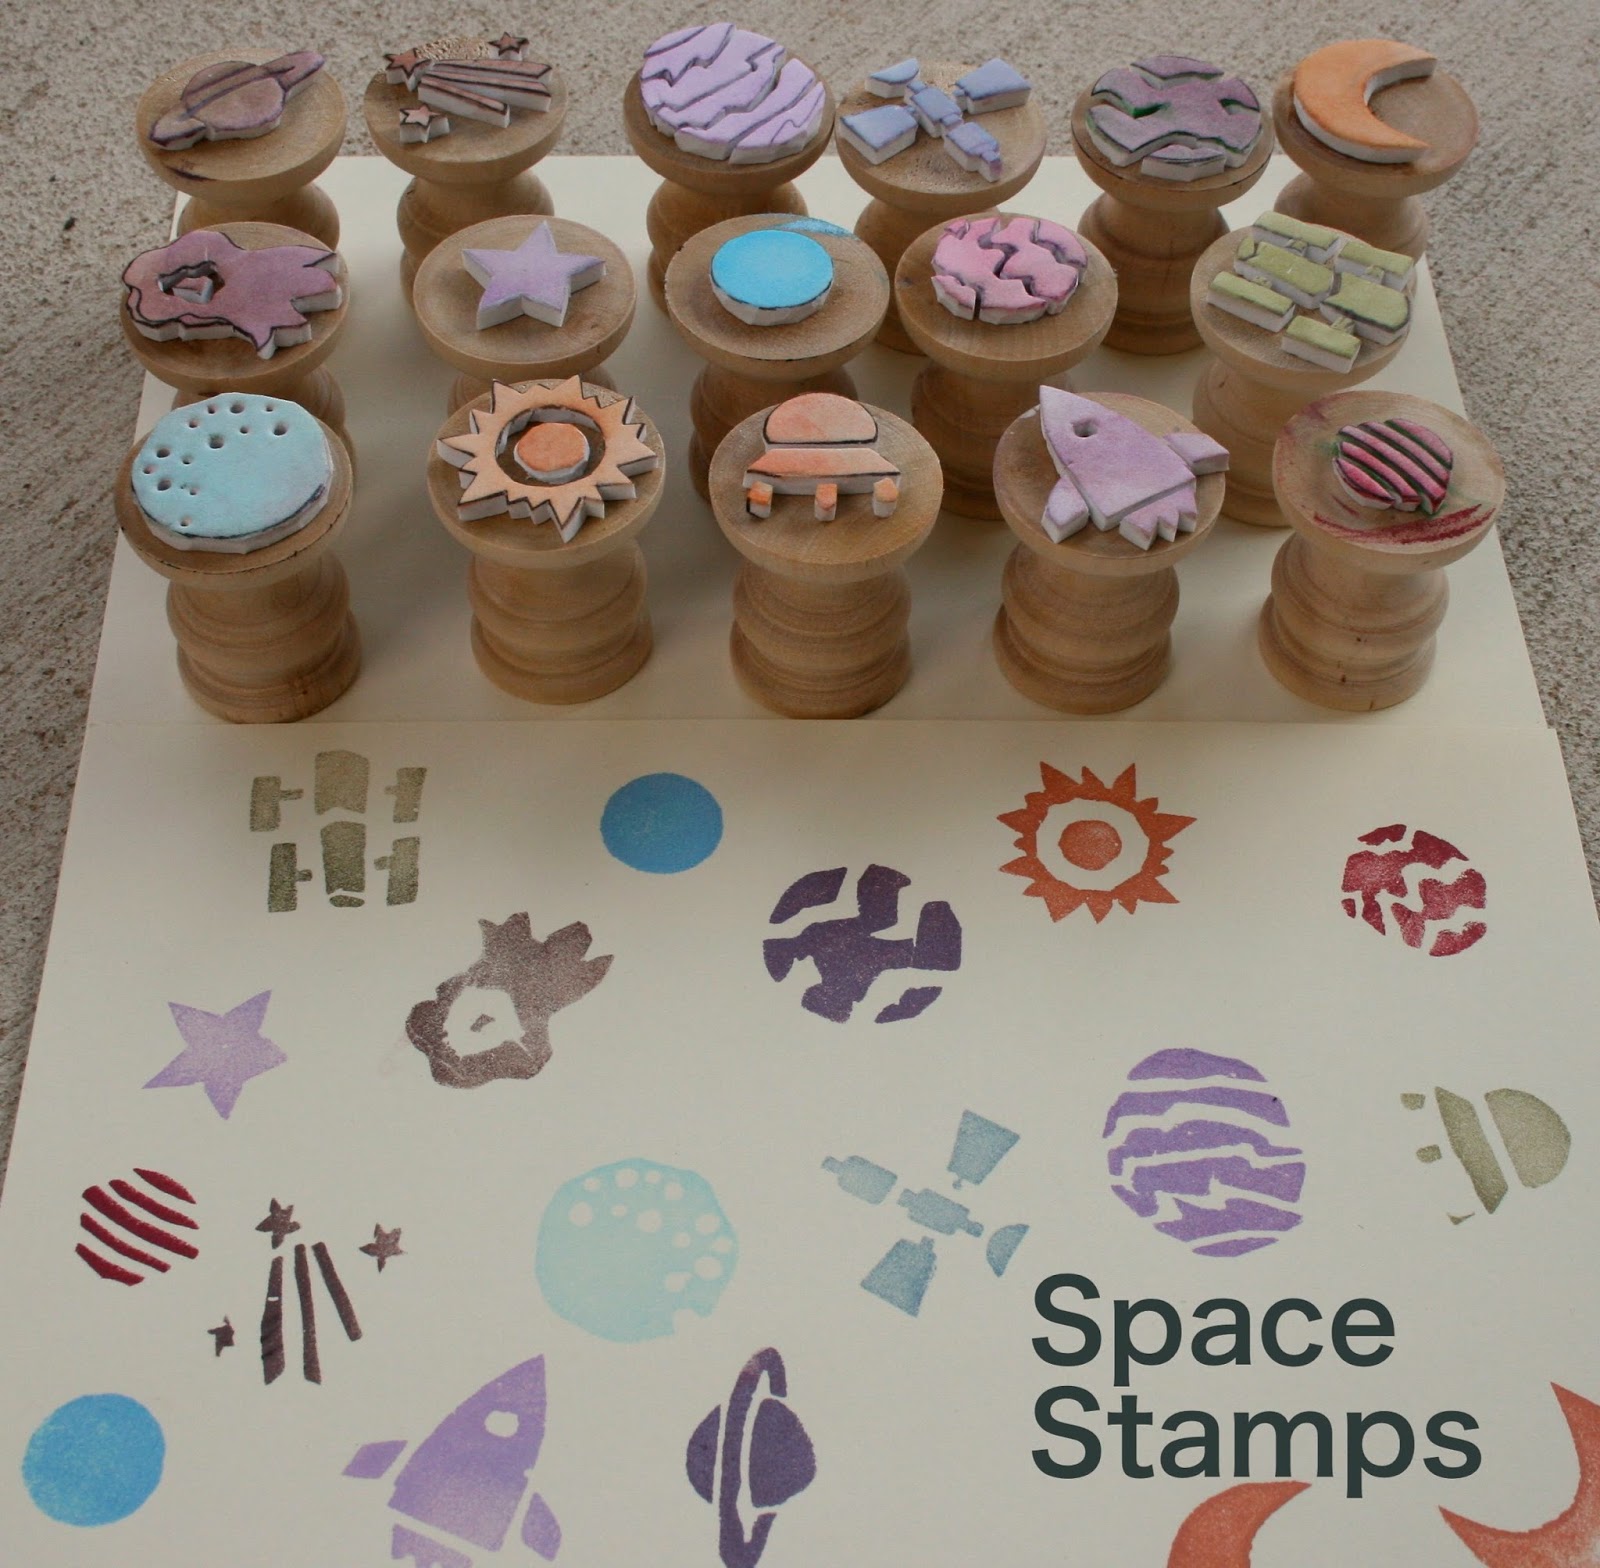
A few days ago, I was browsing Pinterest during nap time and spotted this tutorial on how to make your own foam stamps. I immediately pinned it and started brainstorming ideas. It only seemed right to take Charlotte's current fascination and make some of our very own space themed foam stamps. Here's how we did it.
Supplies:
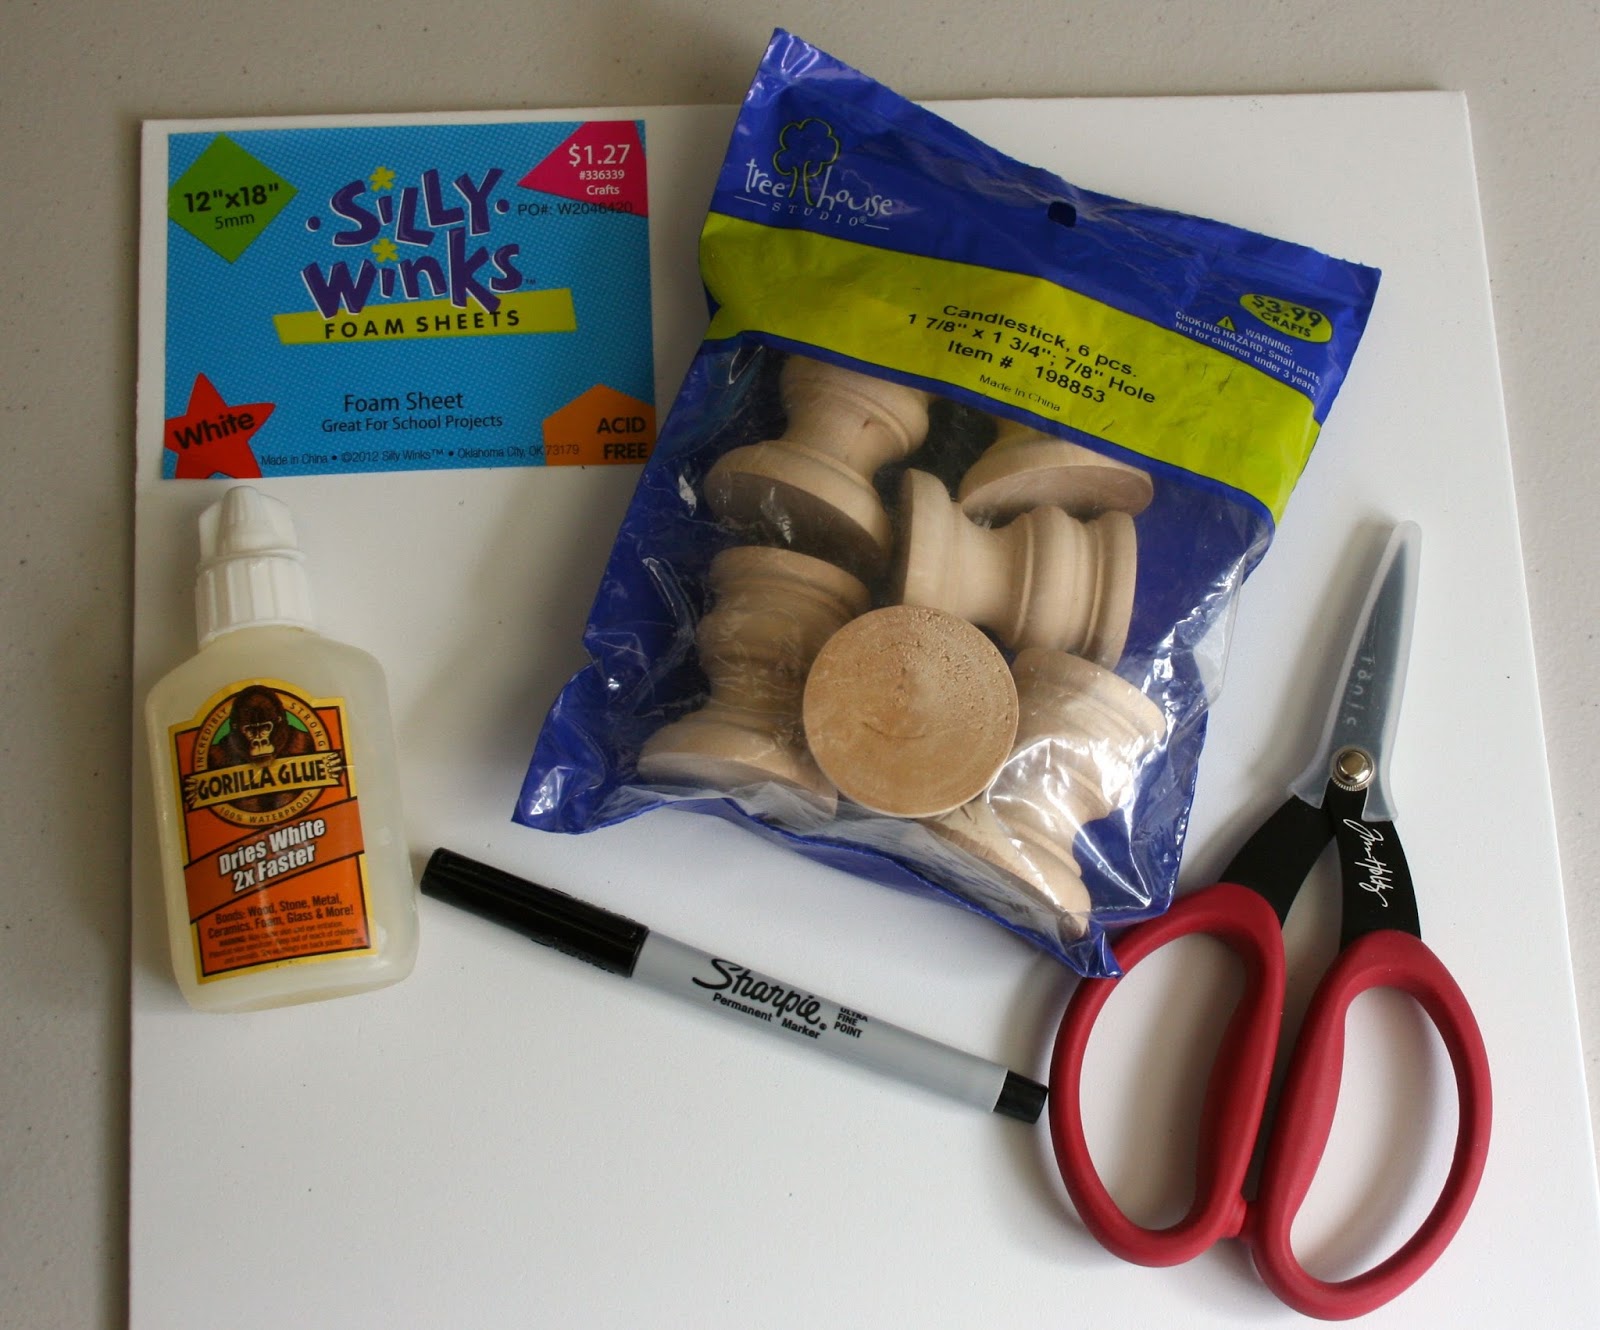
thick craft foam
wooden candelstick pieces
glue
scissors
fine tip Sharpie
I wanted to find something that would work as a good, sturdy base for a stamp, but also be super easy for toddler hands to pick up and use. I went to the wood aisle at Hobby Lobby and spotted these wooden candlestick pieces. They were exactly what I needed. They are solid, have a flat surface and make the perfect handle. I grabbed a few bags and practically skipped to the register with excitement.

Next, comes the fun part. Sketching out what you want your stamps to look like. I traced the candlestick on my scratch paper so I would know how much room I had to work with. Keep in mind that the designs need to be simple and easy to cut out. Once you have your ideas down, take a fine tip Sharpie and draw them on your foam. Using a sharp pair of scissors, carefully cut out each piece. I used a small hole punch or a toothpick to add holes to the spaceship and moon.

Once everything is cut out, you are ready to glue them to the wooden candlesticks. I started out using Gorilla Glue, which worked good for the big solid pieces. However, I quickly switched to using Aleene's Tacky Glue. It was perfect for using on the smaller pieces and it gave me time to move the pieces around before the glue started to set firmly.

You are ready to stamp and test out your new creations! I pulled out some stamp pads that I have had for quite a few years. Charlotte immediately knew what to do with them and went to town creating her own little galaxy. Can you tell what everything is? It's art. It's okay if its a bit abstract, right?! We also tried stamping them using paint, but the images weren't as crisp as they were with the stamp pads. To clean them, I just folded a wet paper towel, placed it on a paper plate and stamped them on top a few times to remove the excess ink.

It truly was an easy, cheap project to work on and complete. Perfect if you are wanting to create your own theme like we did here. I think older kids would have fun creating their own designs as well. My little stinker stamped a few pages out and then innocently looked up at me and said, "Where's the Milky Way mama?". Hmmmm, gotta figure out how to cut that one out next. Thanks for the inspiration The Silly Pearl!

1 comment:
Hi Kim! Your stamps turned out beautifully! I love the cute space designs you came up with. Thanks for letting me know you were inspired by my project!
Post a Comment